Install and Configure GNS3 with VirtualBox on macOS Catalina
In this article, I'll show you how to install and configure GNS3 on a Mac Catalina. We will focus on these specific version, GAs at the time of writing but hopefully the same instructions might be applicable for slightly different versions:
- GNS3 version 2.2.18
- macOS Catalina 10.15.7
Step 1 - Download GNS3 and GNS3 VM
Head over to GNS3 software page and download macOS version 2.2.18. If you don't have an account, you will have to create one! For optimal performance, also download the GNS3 VM. In this article I will be using VirtualBox, so fell free to download and install it as well if you'd like to follow along.
Step 2 - Installation
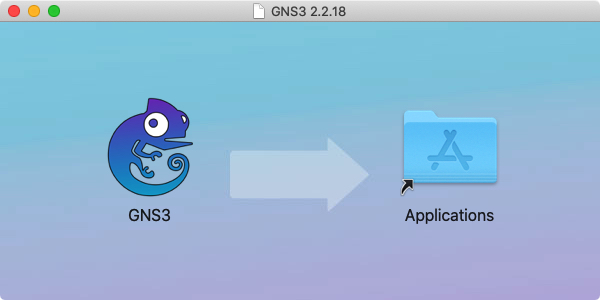
The installation is pretty straightforward. Just drag GNS3 into your application folder and it's done:
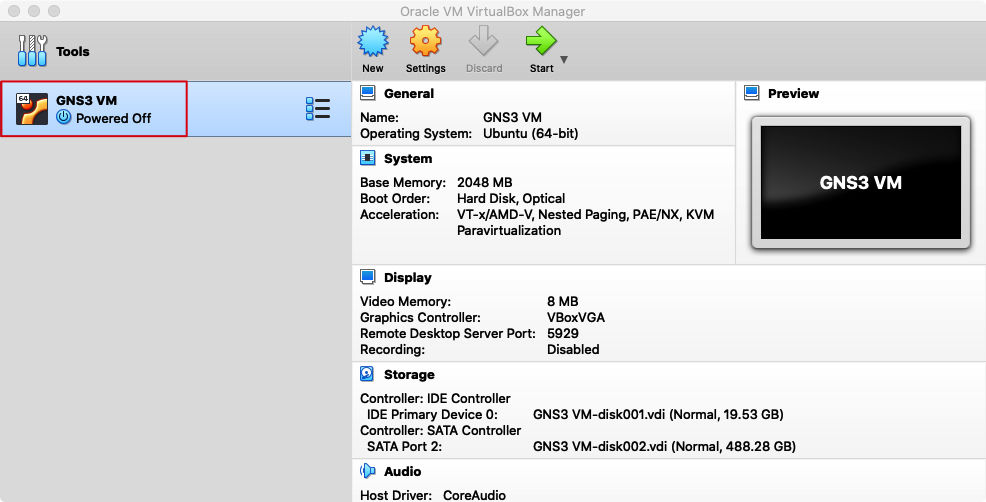
Now it's time to extract the GNS3 VM and import it into VirtualBox. For mac users, just double clic GNS3.VM.VirtualBox.2.2.18.zip you just downloaded and a new folder GNS3 VM will be automatically created for you containing the extracted files.
From VirtualBox UI select Import and browse for the file GNS VM.ovf inside the GNS3 VM folder.
 . On the next screen click on
 import and you should be good to go. macOS might warn you about permission to monitor files and control the system from your terminal. These permissions are needed from the GNS3 application to control the GNS3 VM (start, stop, configure interfaces, cpu, ram, etc.)
Step 3 - Initial configuration
Start the GNS3 VM and wait for the boot process to complete. You should see a screen like this:
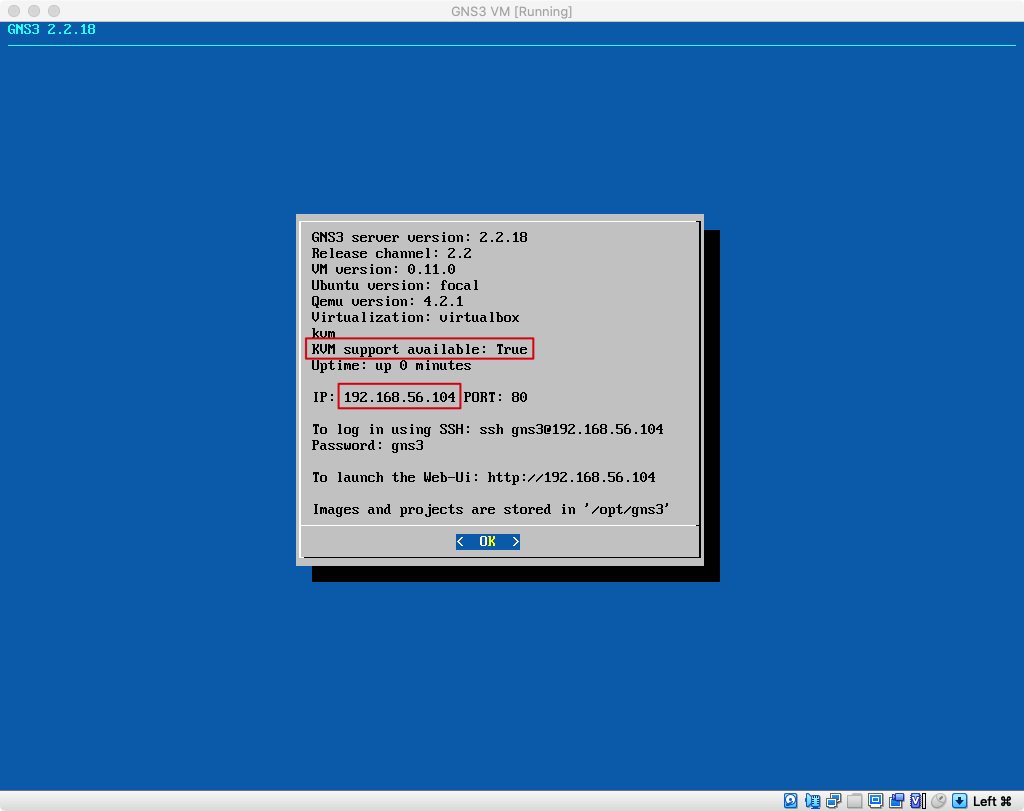 Make sure
 KVM support available is set to True and take note of the IP; in this case 192.168.56.104.
Try and ping the GNS3 VM IP from macOS terminal. If ping does not work check if the vboxnet0 has been assigned the correct network, from the VirtualBox menu -> File -> Host Network Manager...:
 .
When you are able to ping the GNS3 VM it's time to open GNS3 and check its
 Preferences.
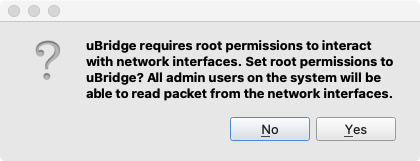
At first execution, allow root permissions for uBridge to interact with network interfaces:
 In
In General you can set your own preferences for where to store your projects etc. In order to be sure networking is going to work properly, select Server from the left menu and verify Enable local server is flagged and Host binding: matches your GNS3 VM subnet. You can leave the other settings as default unless you have a specific reason to customise them:
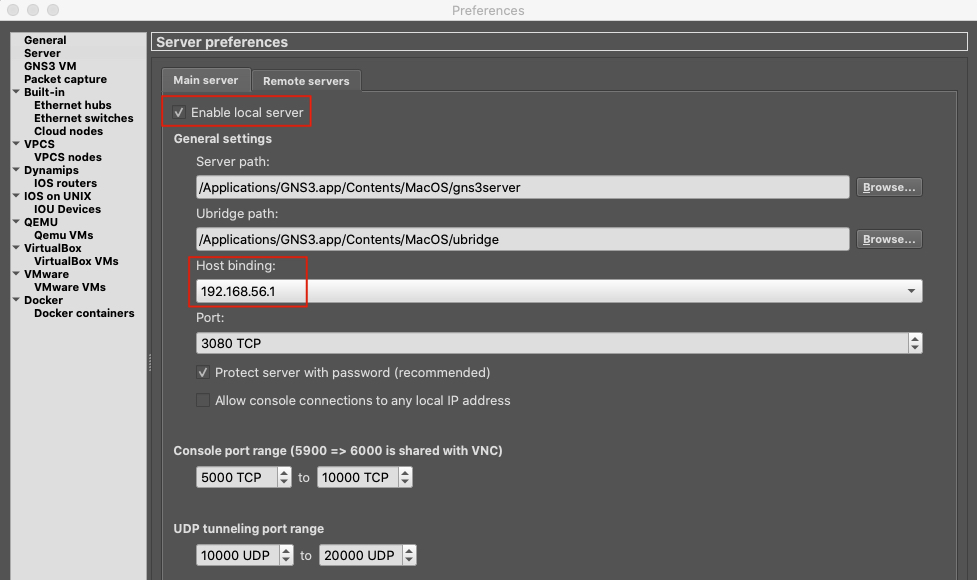 In
In GNS3 VM preferences make sure Enable the GNS3 VM is enabled and the correct Virtualization engine is selected. If you can't see the correct VM name try refershing the settings. You should see something like this:
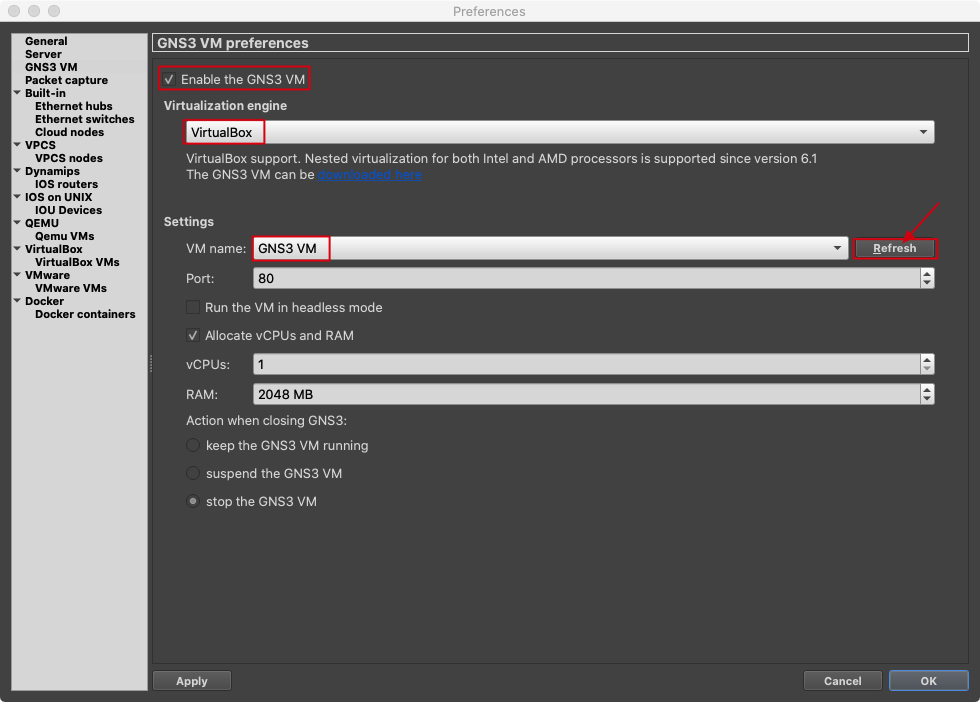
Step 4 - Testing your first project
Okay, now let's have some fun!
- Create a new project and from the left pane
Browse all devicesicon drag theNATCloud, a switch and 2VPCS. - Connect the
NATcloud and the 2VPCSto theSwitch. - Open a console for both
VPCSand obtain an IP from the DHCP with the commandip dhcp - After obtaining the IP, from
PCItry pingingPC2and fromPC2try pinging an external DNS, like1.1.1.1.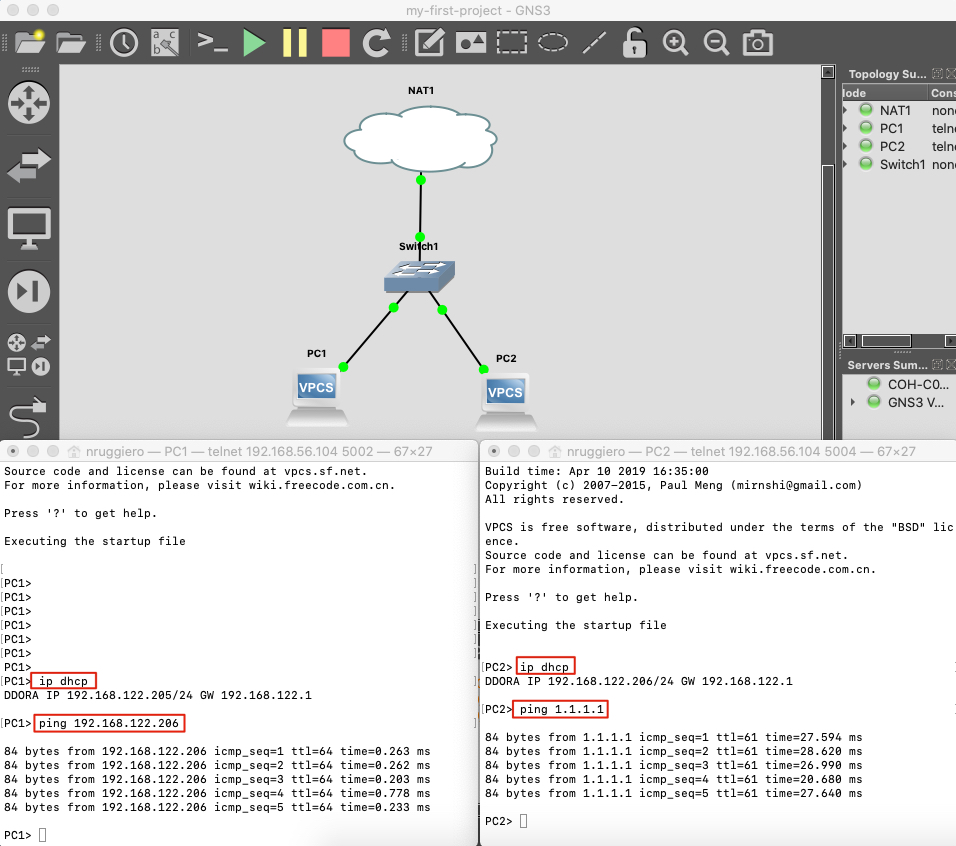
See Also
comments powered by Disqus