Install and Configure GNS3 with VMware Workstation Player Free
Overview
In this article, I'll demonstrate how to install GNS3 on Windows 10 using VMware Workstation Player free to run the GNS3 VM.
Prerequisites
- VMware Workstation Player (free): https://www.vmware.com/products/workstation-player/workstation-player-evaluation.html
- VMware VIX 1.17.0 API for Windows 64-bit operating systems: https://www.dropbox.com/s/ffhqh17kaxjgk8k/VMware-VIX-1.17.0-6661328.exe?dl=0
- GNS3: https://www.gns3.com/software/download
- CISCO IOS Router image (c3725-adventerprisek9-mz.124-17.bin) : https://www.dropbox.com/sh/9owd781pm2akic8/AACR6W0GE8gHX-36JYl6fMa4a?dl=0
For VMware Workstation Pro, the VIX API is not needed, so if you either have the Pro version already installed, or plan to install the 30 days trial, or decide to buy the Pro version, you can skip VMware VIX API installation and "hack".
If you have an old version (<=14.x) of VMware Workstation Player installed, you most likely don't need to hack the VIX API, so you can skip that part.
Installation
- Install VMware Workstation Player (VMware-player-15.5.2-15785246.exe)
- Install VMware VIX 1.17.0 API (VMware-VIX-1.17.0-6661328.exe)
- Install GNS3 (GNS3-2.2.7-all-in-one-regular.exe)
- On Choose Components select GNS3 Desktop and GNS3 VM

- On GNS3 VM, select VMware Workstation

- Click Finish and unselect start GNS3

- On Choose Components select GNS3 Desktop and GNS3 VM
VIX API Hack
The latest available version of VIX API 1.17.0 was released in 2017 and is not compatible with VMware Workstation Player 15.x. Don't worry, in order to get it working, we will have to hack some configuration files.
-
Open
vixwrapper-config.txtinC:\Program Files (x86)\VMware\VMware VIX. (Take a copy of the file before making any changes)1#@Version-Info 2# 3# VixAllProducts revision mapping 4# 5# This file translates product version specifications into the appropriate Vix 6# implementations. 7# 8# Each @Version-Info line has 5 white-space seperated entries: 9# 10# provider-type: ws, esx, viserver, etc 11# apiVersion: the apiVersion supported, as passed in from VixHost_Connect() 12# ipc-type: none, vmdb, vmodl, cim 13# product-version: the product version string 14# 15# implementation-directory: the path to the library that implements the 16# version described by the first 4 parameters 17# 18# 19# The configuration is based on the first 4 fields, which describe 20# the product. The 5th field is the location. To force it to try 21# multiple location, the same configuration can be repeated. Note that 22# list is built in LIFO order, so the latest entry in the configuration 23# will be the first used. If for some reason that value fails, it will 24# continue through any other matches. 25 26# Workstation 14.0.0 27ws 19 vmdb 14.0.0 Workstation-14.0.0 28player 19 vmdb 14.0.0 Workstation-14.0.0 29 30# latest un-versioned 31ws 19 vmdb e.x.p Workstation-14.0.0 32player 19 vmdb e.x.p Workstation-14.0.0 33 34# EOF -
Add the following lines before
# latest un-versioned1# Workstation and Player 15.5.2 2ws 19 vmdb 15.5.2 Workstation-15.0.0 3player 19 vmdb 15.5.2 Workstation-15.0.0 4ws 19 vmdb e.x.p Workstation-15.0.0 5player 19 vmdb e.x.p Workstation-15.0.0Here is what the file looks like after making the changes:
1#@Version-Info 2# 3# VixAllProducts revision mapping 4# 5# This file translates product version specifications into the appropriate Vix 6# implementations. 7# 8# Each @Version-Info line has 5 white-space seperated entries: 9# 10# provider-type: ws, esx, viserver, etc 11# apiVersion: the apiVersion supported, as passed in from VixHost_Connect() 12# ipc-type: none, vmdb, vmodl, cim 13# product-version: the product version string 14# 15# implementation-directory: the path to the library that implements the 16# version described by the first 4 parameters 17# 18# 19# The configuration is based on the first 4 fields, which describe 20# the product. The 5th field is the location. To force it to try 21# multiple location, the same configuration can be repeated. Note that 22# list is built in LIFO order, so the latest entry in the configuration 23# will be the first used. If for some reason that value fails, it will 24# continue through any other matches. 25 26# Workstation 14.0.0 27ws 19 vmdb 14.0.0 Workstation-14.0.0 28player 19 vmdb 14.0.0 Workstation-14.0.0 29 30# Workstation and Player 15.5.2 31ws 19 vmdb 15.5.2 Workstation-15.0.0 32player 19 vmdb 15.5.2 Workstation-15.0.0 33ws 19 vmdb e.x.p Workstation-15.0.0 34player 19 vmdb e.x.p Workstation-15.0.0 35 36# latest un-versioned 37ws 19 vmdb e.x.p Workstation-14.0.0 38player 19 vmdb e.x.p Workstation-14.0.0 39 40# EOF -
Save and Close the file. Notepad++ will ask for "Administrator mode"
-
Go back to the folder
C:\Program Files (x86)\VMware\VMware VIX -
Make a copy of the folder
Workstation-14.0.0and renameWorkstation-15.0.0. Here is the result: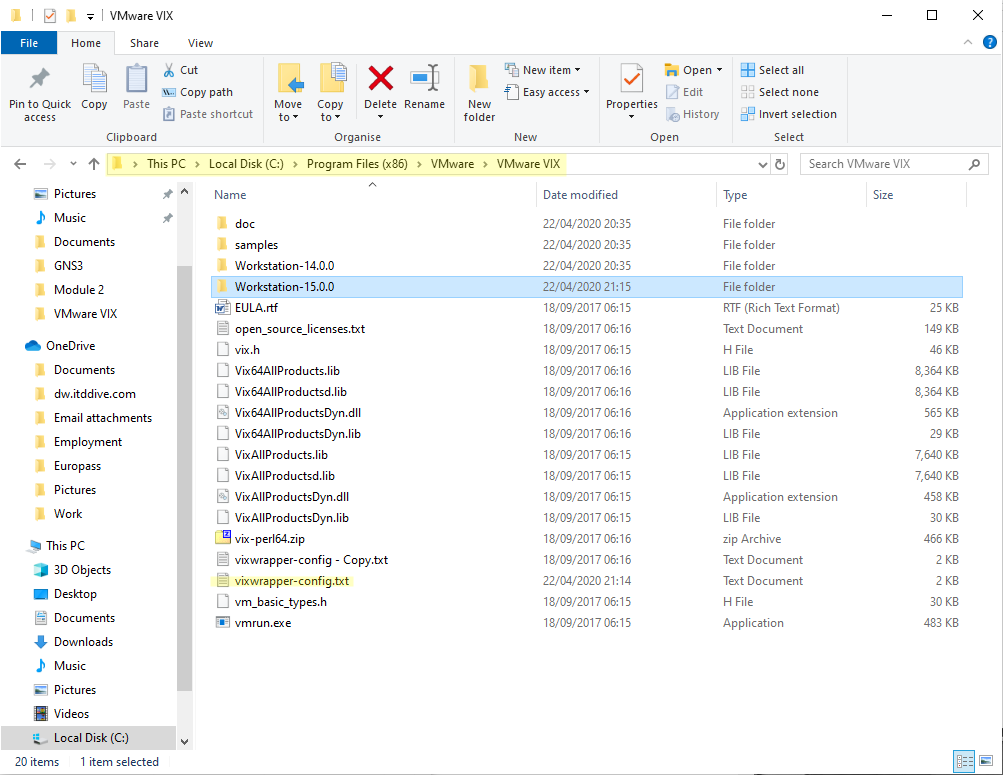
Initial Configuration
- Import GNS3 VM into VMware workstation Player
- Unzip the VM image (GNS3.VM.VMware.Workstation.2.2.7.zip in your user's Downloads folder)
- Doubleclick GNS3 VM.ova to import the VM:

- Choose Import

- If you get this error:

it means that Virtualization Support is disabled in you Laptop / PC. It must be enabled in the BIOS or UEFI. Please refer to your vendor's documentation on how to enable it.
If the GNS3 VM is configured correctly you should see the VM running on VMware Workstation every time you open GNS3 and you should also see 2 servers in the Server Summary screen:

To configure the GNS3 VM, click on Edit > Preferences > GNS3 VM

- Select Enable the GNS3 VM and click OK
- Now the GNS3 VM should start and you should see 2 active servers

Importing the router image
Proceed as follows:
- Edit > Preferences
- Select Dynamips > IOS routers > New
- Run this IOS router on the GNS3 VM
- New Image. Browse for the image
- Answer Yes to decompress the image.
- Click Next repeatedly until WIC modules and choose WIC-2T for the
wic 0 - Click Next and Idle-PC finder
- Accept the value clicking OK
- Click Finish
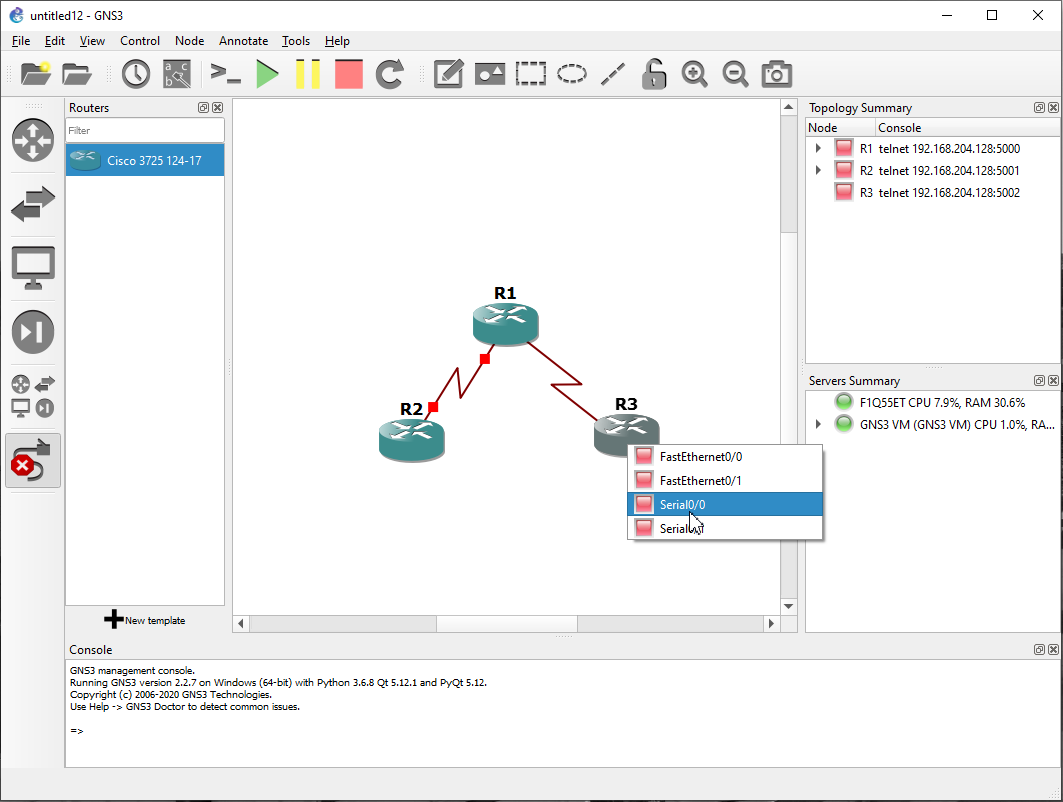
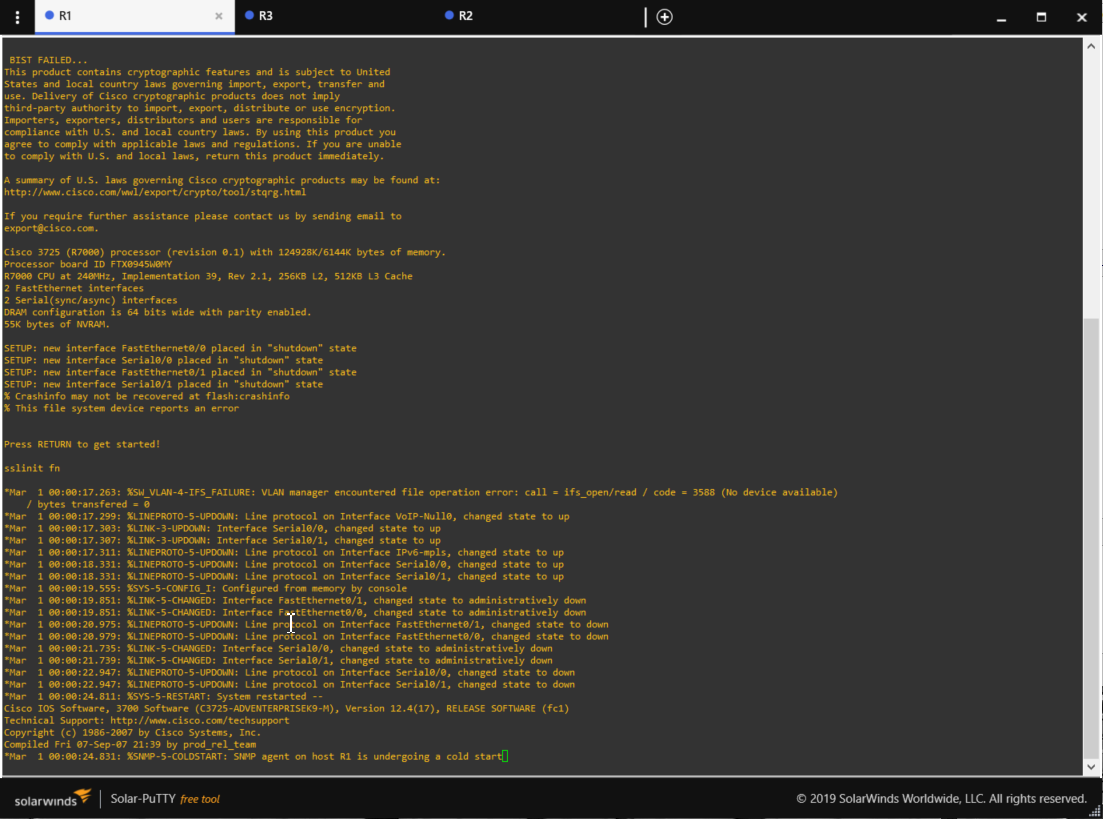
You are good to go!
See Also
comments powered by Disqus